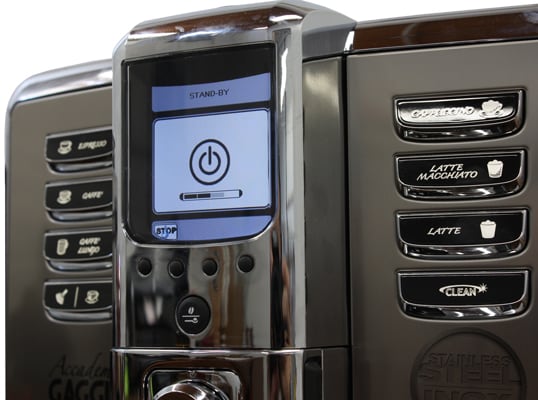
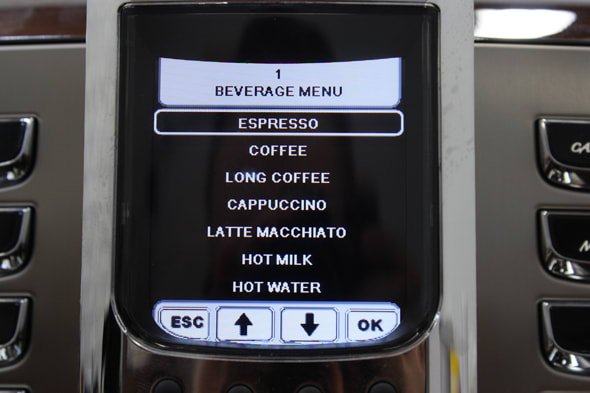
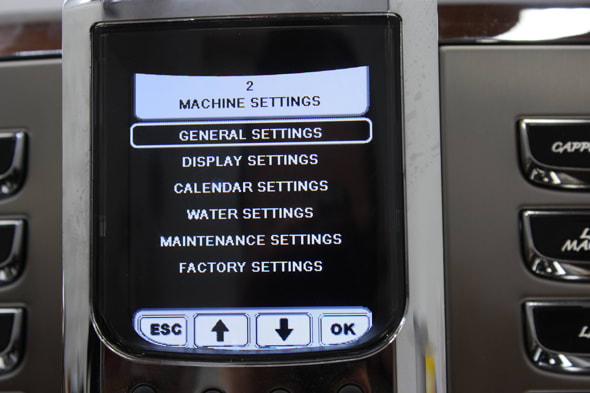
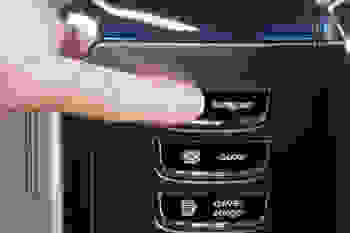
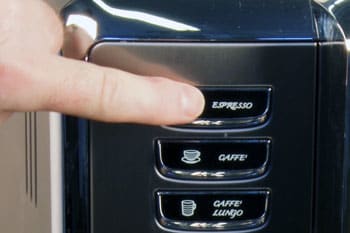
From deciding what kind of drink you want to adjusting the steam pressure, almost everything on the {{product.name}} runs through its touch screen back-lit user interface.
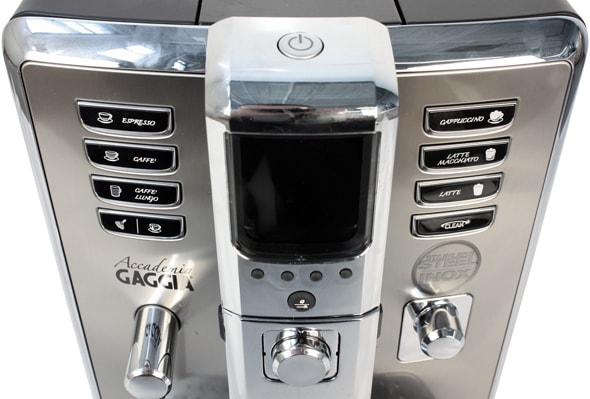
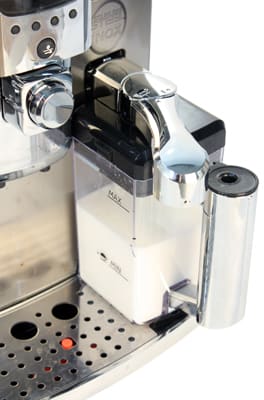
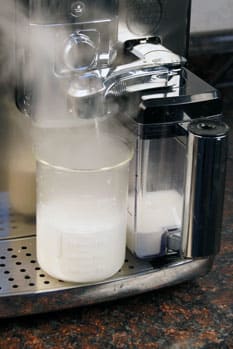
There is no milk reservoir with the {{product.name}}. You need to pour your own milk and the steam wand will come down from inside the machine and heat the milk up for you.
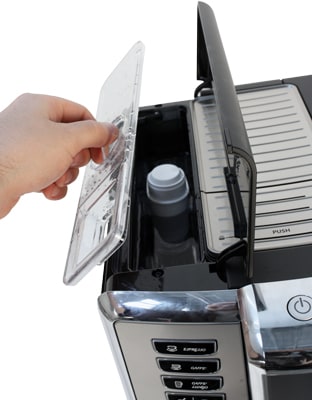
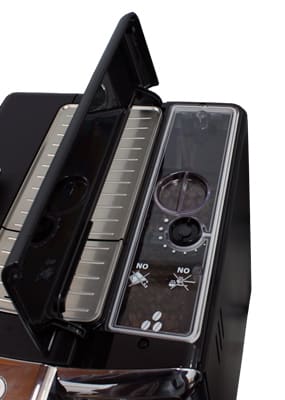
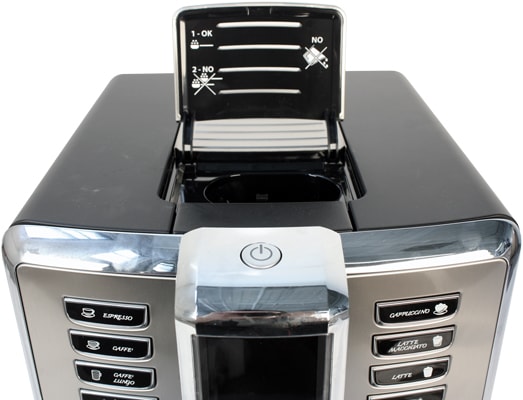
The bean hopper is on the backside of the {{product.name}} and users can put as much as a pound of beans into the hopper. You can also pour custom ground beans into the port in the middle of the top of the machine, but you need to choose that option on the right side of the machine by pressing the button with a picture of a scoop. From there, you can customize how you want your grinds to be brewed.
After you've poured milk into your cup, the {{product.name}}'s brewing process isn't difficult to handle and there are quite a few options for those looking to customize.
Step 1
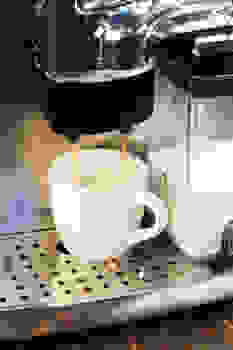
Making a cappuccino is a bit different than you may be used to. Unlike many other espresso brewers in which you place the milk froth on top of your coffee, the {{product.name}} requires you to steam the milk you place in your cup first. You decide how thick you want the froth on the interface and the steam wand will lower from inside the machine and heat up the milk.
Step 2
Now that you've made the milk froth, you can decide how strong you want your cappuccino to be or the amount of steam applied to it.
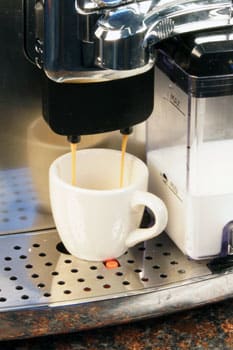
Step 3
You can now hit the brew button on the interface and your cappuccino will start pouring out. In all, this process should take about four minutes.
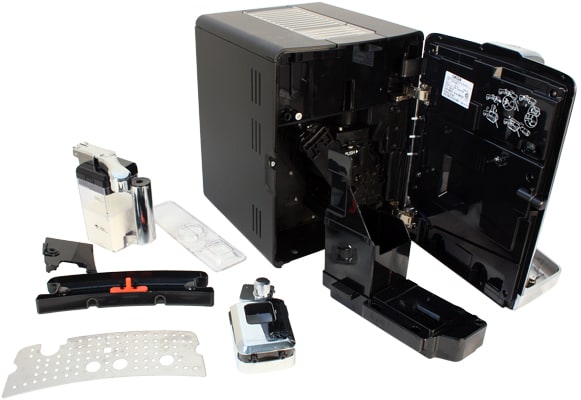
The only part of cleaning the {{product.name}} that you'll have to worry about is ensuring its cleaning fluid container is full. Beyond that, the machine takes care of the rest. In addition to cleaning the steam wand for you after every use, which a lot of users have a tough time with, the fluid runs through and cleans the entire system after 15 uses.
Another benefit after you've registered your machine is that you'll have access to the Krups Elite service to help with any issues with your machine. Krups representatives said that, with this service, you'll be able to get directly to a support team member on the phone.
There is no shortage of customization with the {{product.name}}'s touch screen back-lit user interface. Beyond choosing how fine you want your beans ground or the type of pressure you want applied to your brew, the {{product.name}} allows you to save a "profile" of eight of your favorite drinks. These saved drinks are based on settings such as brew temperature, froth type, quality, or brew strength. You can have eight profiles, or 64 saved drinks total.
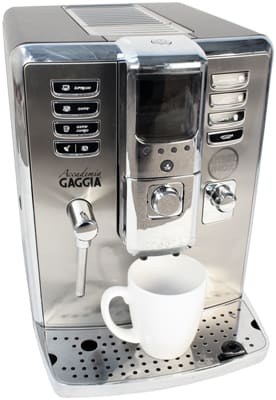
The top of the machine also serves as a cup warmer.
Conclusion
{{product.vanity}}
The {{product.name}} ($2500 MSRP) is undoubtedly on the higher end in pricing for espresso makers. But if you're going to spend that kind of money on an espresso machine, the Barista EA9000 will give you quality in return. It had a wider range of options and better cleaning utilities than most other machines that we saw on the show floor that were in the $3,000 range. We're really liked the {{product.name}}'s customization capabilities on its touch screen interface and how easy it is to fill the water reservoir or clean out the used espresso pucks from the bin on the left side of the machine.
The {{product.name}} will be available to the public in either August or September and we look forward to bringing into our lab for testing. Putting the milk froth in first seemed a bit unorthodox to us and we want to see how this affects (if at all) taste and performance compared to other brewers.
Prices were accurate at the time this article was published but may change over time.
The product experts at Reviewed
have all your shopping needs covered.
Follow Reviewed on Facebook,
Twitter,
Instagram,
TikTok,
or Flipboard for the latest deals, product reviews, and more.
Our team is here for one purpose: to help you buy the best stuff and love what you own. Our writers, editors, and lab technicians obsess over the products we cover to make sure you're confident and satisfied. Have a different opinion about something we recommend? Email us and we'll compare notes.