One-touch espresso and milk foaming, but at a price.
Written and Tested byRichard Baguley, a veteran journalist who has been writing about technology since the early 1990s.
Updated July 21, 2015
The Gaggia Accademia is a high-end fully automatic espresso maker, where you feed water and beans in one end, and the machine produces espresso from the other. It does all of the grinding and brewing automatically, including heating the milk for lattes and other espresso & milk drinks.
Recommendations are independently chosen by Reviewed's editors. Purchases made through the links below may earn us and our publishing partners a commission.
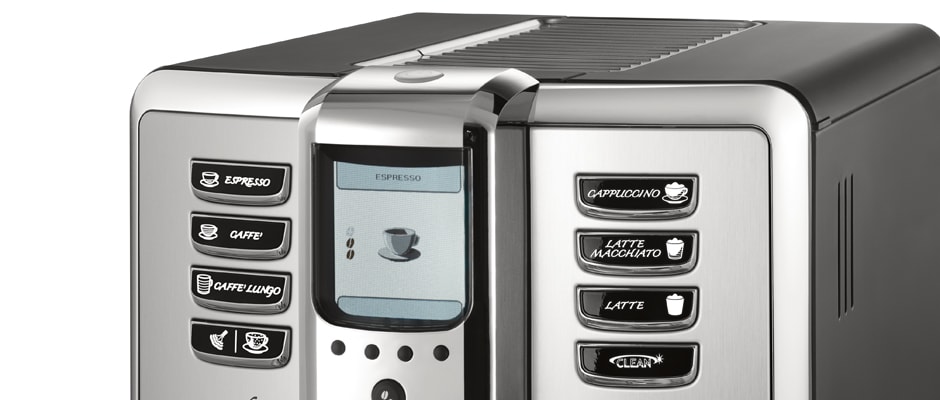
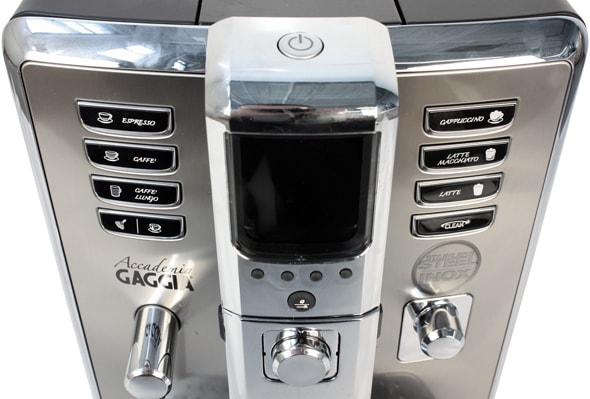
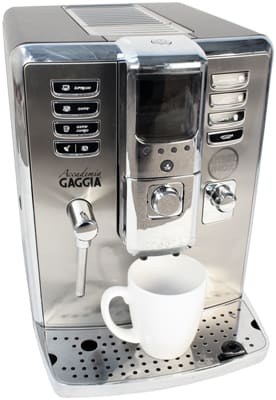
The {{product.model}} is an imposing piece of kitchen hardware, with a distinctly industrial look: you can tell that this is an espresso maker that means business. It comes with a stainless steel finish that would blend in with most kitchen designs,
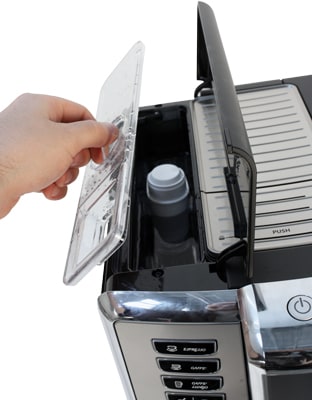
The milk reservoir clips onto the front of the machine, with a dispensing arm that is rotated for use to drop the milk into the drink. When the milk reservoir is not needed, there is a small cover for the hole it fits into.
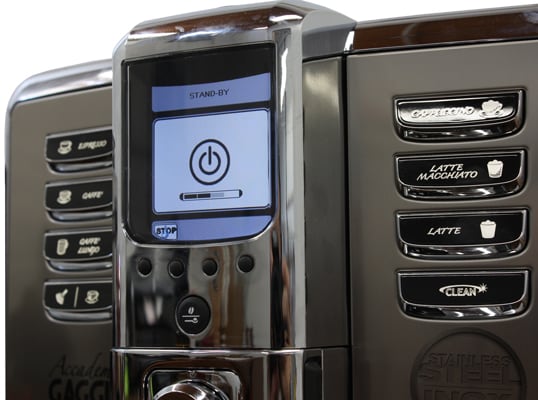
The {{product.model}} is a pretty quick espresso maker most of the time: when the device is up and running, we found that it could make a single shot in 38 seconds (from pushing the button to the final drop hitting the cup) and a double in 78 seconds. It is a slower device if it has gone into standby mode, though: in this case, we found that it took an additional 1 minute and 25 seconds on top of the times above, as the system has to heat up and rinse out the brewing system before it can start. You can configure how long the system waits before it goes into standby mode, though, and you can even set it to wake up and get ready at a certain time, so it will be ready to dispense a shot quickly during working hours when needed. More on how we test the brewing process.
{{comparison_bars title="Time to pull a single espresso shot", attribute="Time to Brew Single", xLabel="Seconds"}}{{comparison_bars title="Time to pull a double espresso shot", attribute="Time to Brew Double", xLabel="Seconds"}}
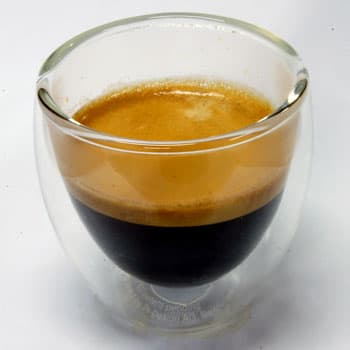
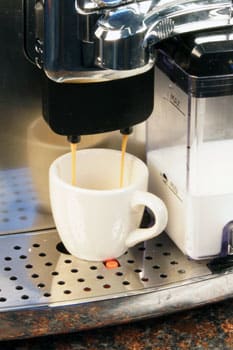
The {{product.model}} produced high-quality espresso in our tests, with excellent color and a decent amount of crema (the foam on the top of the shot that provides part of the flavor). We would have preferred a little more crema, though: some other espresso makers produce a richer, thicker layer of crema that makes for a tastier shot. We did find that it was consistent, though producing a good shot time after time.
One aspect of espresso quality is the percentage of total dissolved solids (TDS) of the espresso that the machine produces. This can tell us a lot of things, including how developed the brew is and how bitter it will taste. The higher this percentage, the stronger the espresso is. We found that the {{product.model}} could produce a good range of strengths of espresso, from 2.2% with the length set to maximum and the opti-dose setting dialed down to minimum, to 6.9% for the shortest espresso shot with the opti-dose set for maximum strength. That is a very wide range, so it is safe to say that most espresso fans should be able to find the right strength for their taste. The length of an espresso is the amount of water used: the longer the length, the more water. More on how we test the brewing process.
A double espresso shot brewed by the illy Francis Francis Y1
The {{product.model}} only offers one option for the quantity of espresso: a single shot. The size of this can be tweaked with the length control, which allows for a range of If you want more, you press the button twice and the machine produces two shots in a row. However, there are additional options for different types of drink, with the caffe luongo (long coffee) button producing a larger 4.5 fl. oz. drink. More on how we test the brewing process.
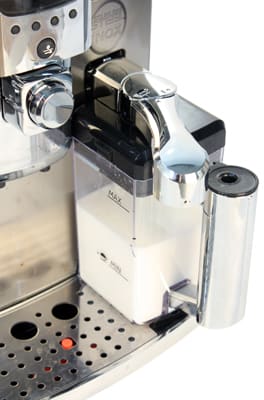
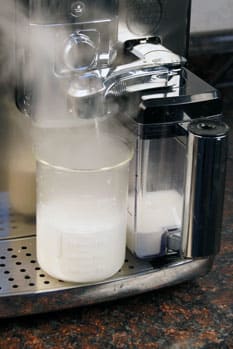
The {{product.model}} is unusual in offering two ways to heat and foam milk: a steam wand and an automated system that uses a milk reservoir that clips onto the front of the device. With the automatic system, the milk is sucked into the system from a reservoir, heated and foamed, them squirted out into the cup from the dispensing arm on the top of the reservoir. This is a more complicated approach than the standard steam wand, but it does make it easier to use: the system measures out the quantity of milk, the temperature and the foaming. All you have to do is push the button.
We found that this system produced good quality foam, with small bubbles and a good texture. It is also consistent, producing the same quality of foam time after time. The amount of foam and milk used can be configured through the in-screen menu, but we found that the default options would suit most users.
We only had two minor issues with this automated milk system. One was the lack of refrigeration: it is very easy to forget that you put the reservoir on the front of the machine and leave it there, which could result in the milk going off. The other was the lack of a way for the system to detect an empty reservoir, as the system will keep dispensing if it runs out of milk, which results in a lot of foam and hot steam splashing around.
A steam wand and hot water dispenser is also available, which is located on the left side of the device. This provides and option for the more traditional way to foam milk, but it is a little inflexible, as the wand does not pivot forwards, so it is rather awkward to get a jug in place. It does produce plenty of steam, but there is no way to control the amount of steam, so you can't tweak the steam level for optimal frothing the way your local barista would.
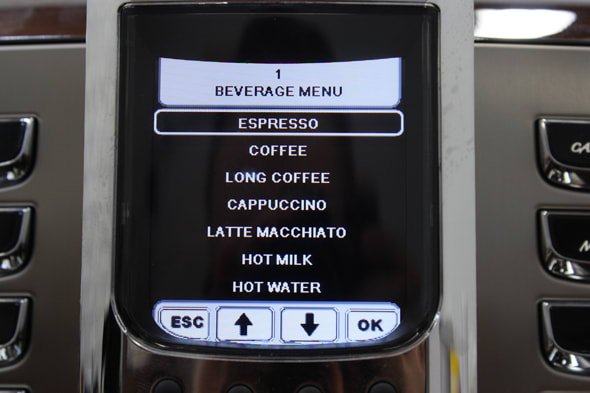
The {{product.model}} also offers the option to produce other drinks, with buttons for caffee (a larger shot), caffee luongo, cappuchino, macchiato and latte drinks. This makes it more flexible, and it can also produce hot water for tea drinkers.
Usability Overview
A little complicated to set up, but the brewing process is straightforward. You don’t get much control over the brewing process, though.
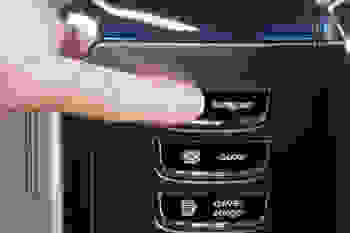
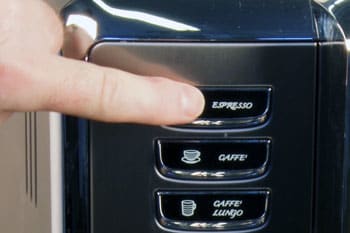
To make an espresso shot with the {{product.model}}, you put your cup under the outlet, adjust the height of the dispenser and hit the button. That's it: there is no tamping, loading or other preparation required as long as the device is loaded with beans and water. The process is easy, but has a few quirks: some drinks include both espresso and milk (such as the cappuchino and macchiato), while for the latte option you have to add your own shot of espresso first.
We also found the placement of the controls a little awkward. One of the buttons below the screen stops the brewing process if required, but to reach the button you have to reach over the brewing area. This is difficult to do when there are clouds of steam billowing out of the cup, such as when you try and make a latte, but don't realize that there isn't enough milk in the reservoir.
Step 1
Put your cup under the outlet and push the appropriate button.
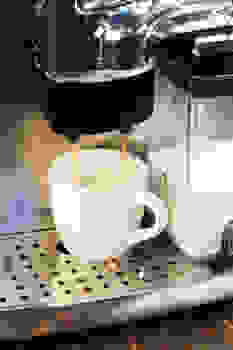
Step 2
The machine grinds the beans, heats the water and brews the drink. It is then automatically dispensed.
Step 3
If you want to make a latte or other milk drink, you need to make sure the milk dispenser is filled and fitted. When you press the button, the machine heats the milk, froths it and dispenses it. Again, the process is simple and straightforward, but you do need to make sure that the milk dispenser is properly installed, and it is a little awkward to insert and remove.
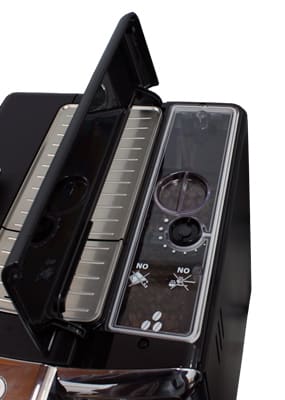
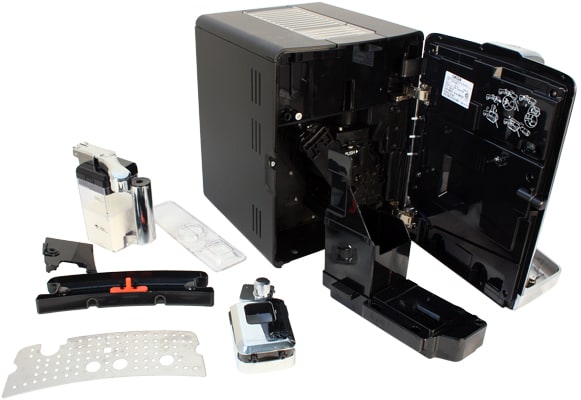
Although the Accademica is simple to use, it does require some maintenance. Specifically, you have to occasionally remove and clean the grinds drawer that holds the discarded coffee grinds and the drip tray that holds the water overflow. There are actually two drip trays (an internal one and an external one) Both of these require emptying quite frequently, as the system rinses the pipes clean with a small amount of water whenever it starts up or shuts down, but only the internal one notifies you on screen when it is full. The external one uses a floating red marker, so you need to pay attention to this as well as the screen . With frequent use, we found that we had to empty these trays at least once a day.
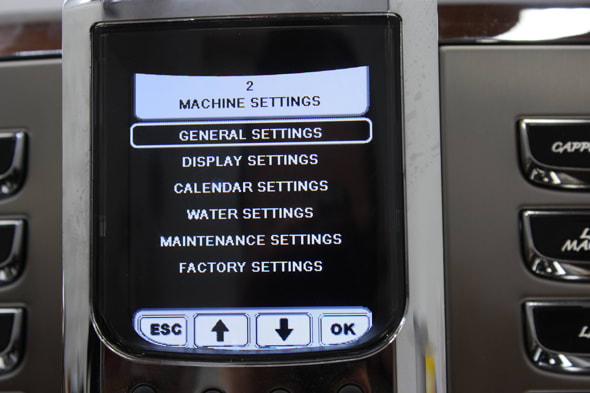
The {{product.model}} offers a good level of customization, allowing you to control pretty much every feature of the brewing process, including the grind (through a dial on the bean hopper), the length and the amount of coffee used. Each of the different types of drink also has options, such as the amount of milk used for the latte and other milk drinks, and the amount of foaming.
This is an interesting comparison between the automatic (the Gaggia Accademia) and the manual (the Rancillio Silivia). Both approaches have their pros: the automatic Gaggia is much easier to use and would be great for casual drinkers of both espresso and lattes, while the Ranciilio Silvia produces a better shot and milk overall. But they both have their downsides too: the Gaggia is more than quadruple the price of the Rancillio, and the Rancillio takes a lot longer to clean up before and after use. Really, the decision comes down to which approach is more suited to the user.
What’s the difference between these two fully automatic espresso makers? About $1000… and a few features. The more expensive Accdemia adds a number of features over the Platinum Vision, including an automatic milk frother and dispenser, a wider range of drink options and a larger capacity water reservoir. This would make the Accademia a better pick for an office where people drink more than straight espresso as it takes the hassle out of foaming milk.
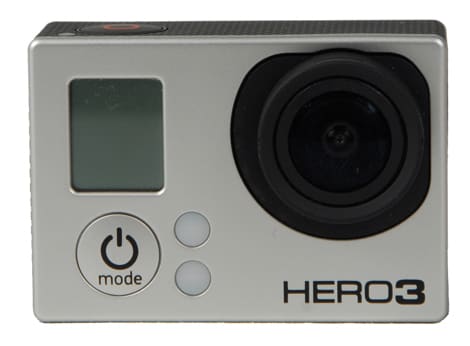
A $200 machine vs a $2299 one? It seems like an open and shut case. But it's more complex than that, with the illy Francis Francis Y1 performing a single purpose (making espresso), while the Gaggia Accademia does it all, making espresso, milk drinks and more, automatically. The Gaggia also does a better job: we found that the espresso it produced was generally superior, although the Y1's brew was definitely acceptable. So, if you have just $200 and an espresso craving, go for the Y1. If you have $2300 and a group of people with a craving for espresso, lattes and more, go for the Gaggia.
Conclusion
We were impressed by the {{product.name}}. We found that it produced good quality espresso and milk drinks, and it was very easy to use. The only issues we found were a slightly confusing menu system and a drip tray that was too small and needed emptying too often. Other than that, the {{product.model}} was a hassle-free way to get espresso and latte drinks quickly and easily, which would be a big plus for an office that runs on caffeine.
However, this automation comes at a high price. Literally: the {{product.model}} costs about $2400. When you consider that you can get a decent fully automatic espresso maker without all of the bells and whistles for less than half that price, or a good semi-automatic for a quarter, it is a little hard to justify the cost. But an office full of caffeine-fuelled worker bees might be enough to justify the cost, as well as the fact that it looks really cool, with an attractive stainless steel design that would complement a high-end kitchen beautifully. So, if you have the cash and a craving for espresso without the hassle, the {{product.name}} could be the one for you.
Prices were accurate at the time this article was published but may change over time.
The product experts at Reviewed
have all your shopping needs covered.
Follow Reviewed on Facebook,
Twitter,
Instagram,
TikTok,
or Flipboard for the latest deals, product reviews, and more.
Richard Baguley is a veteran writer who has written about technology ranging from Alphabet to Zip file utilities. He has contributed to pretty much every major tech publication, including Amiga Format Magazine, PC World, Wired, CNET, Toms Guide, Forbes, and many others. He lives in the Boston metro area with his wife, dog, and an indeterminate number of cats.
Our team is here for one purpose: to help you buy the best stuff and love what you own. Our writers, editors, and lab technicians obsess over the products we cover to make sure you're confident and satisfied. Have a different opinion about something we recommend? Email us and we'll compare notes.